This post is about making your own (DIY) blown glass flower. It is not an ad for Live Laugh Love, or for Groupon. Go here for more DIY projects, or visit the Budget Savvy Dad HUB.
 I stumbled upon this great opportunity while I was looking into Groupon+ for participating local eateries. This class that lets you make your own trinkets out of blown glass mysteriously appeared on the sidebar as though it were destiny. This particular Groupon was for a DIY blown glass flower. I had to jump on the deal and experience this, both for myself and so that I could have a unique gift to give Sara for Valentine’s Day. The experience was superb. I choose my appointment time, showed up at the shop and after making a couple of crucial choices I was shown a video and instructed to head on in to make my glass flower.
Setting the Appointment
I purchased the experience directly at a reduced cost through Groupon. Once I had my appointment scheduled I didn’t need to worry about printing anything out, or bringing up any emails on my phone when I arrived. I just showed up at the scheduled time and they had me on their list. They also emailed me the day before so I would not forget the appointment. That was great because I would have gone in on the wrong day if they hadn’t.
Arrival
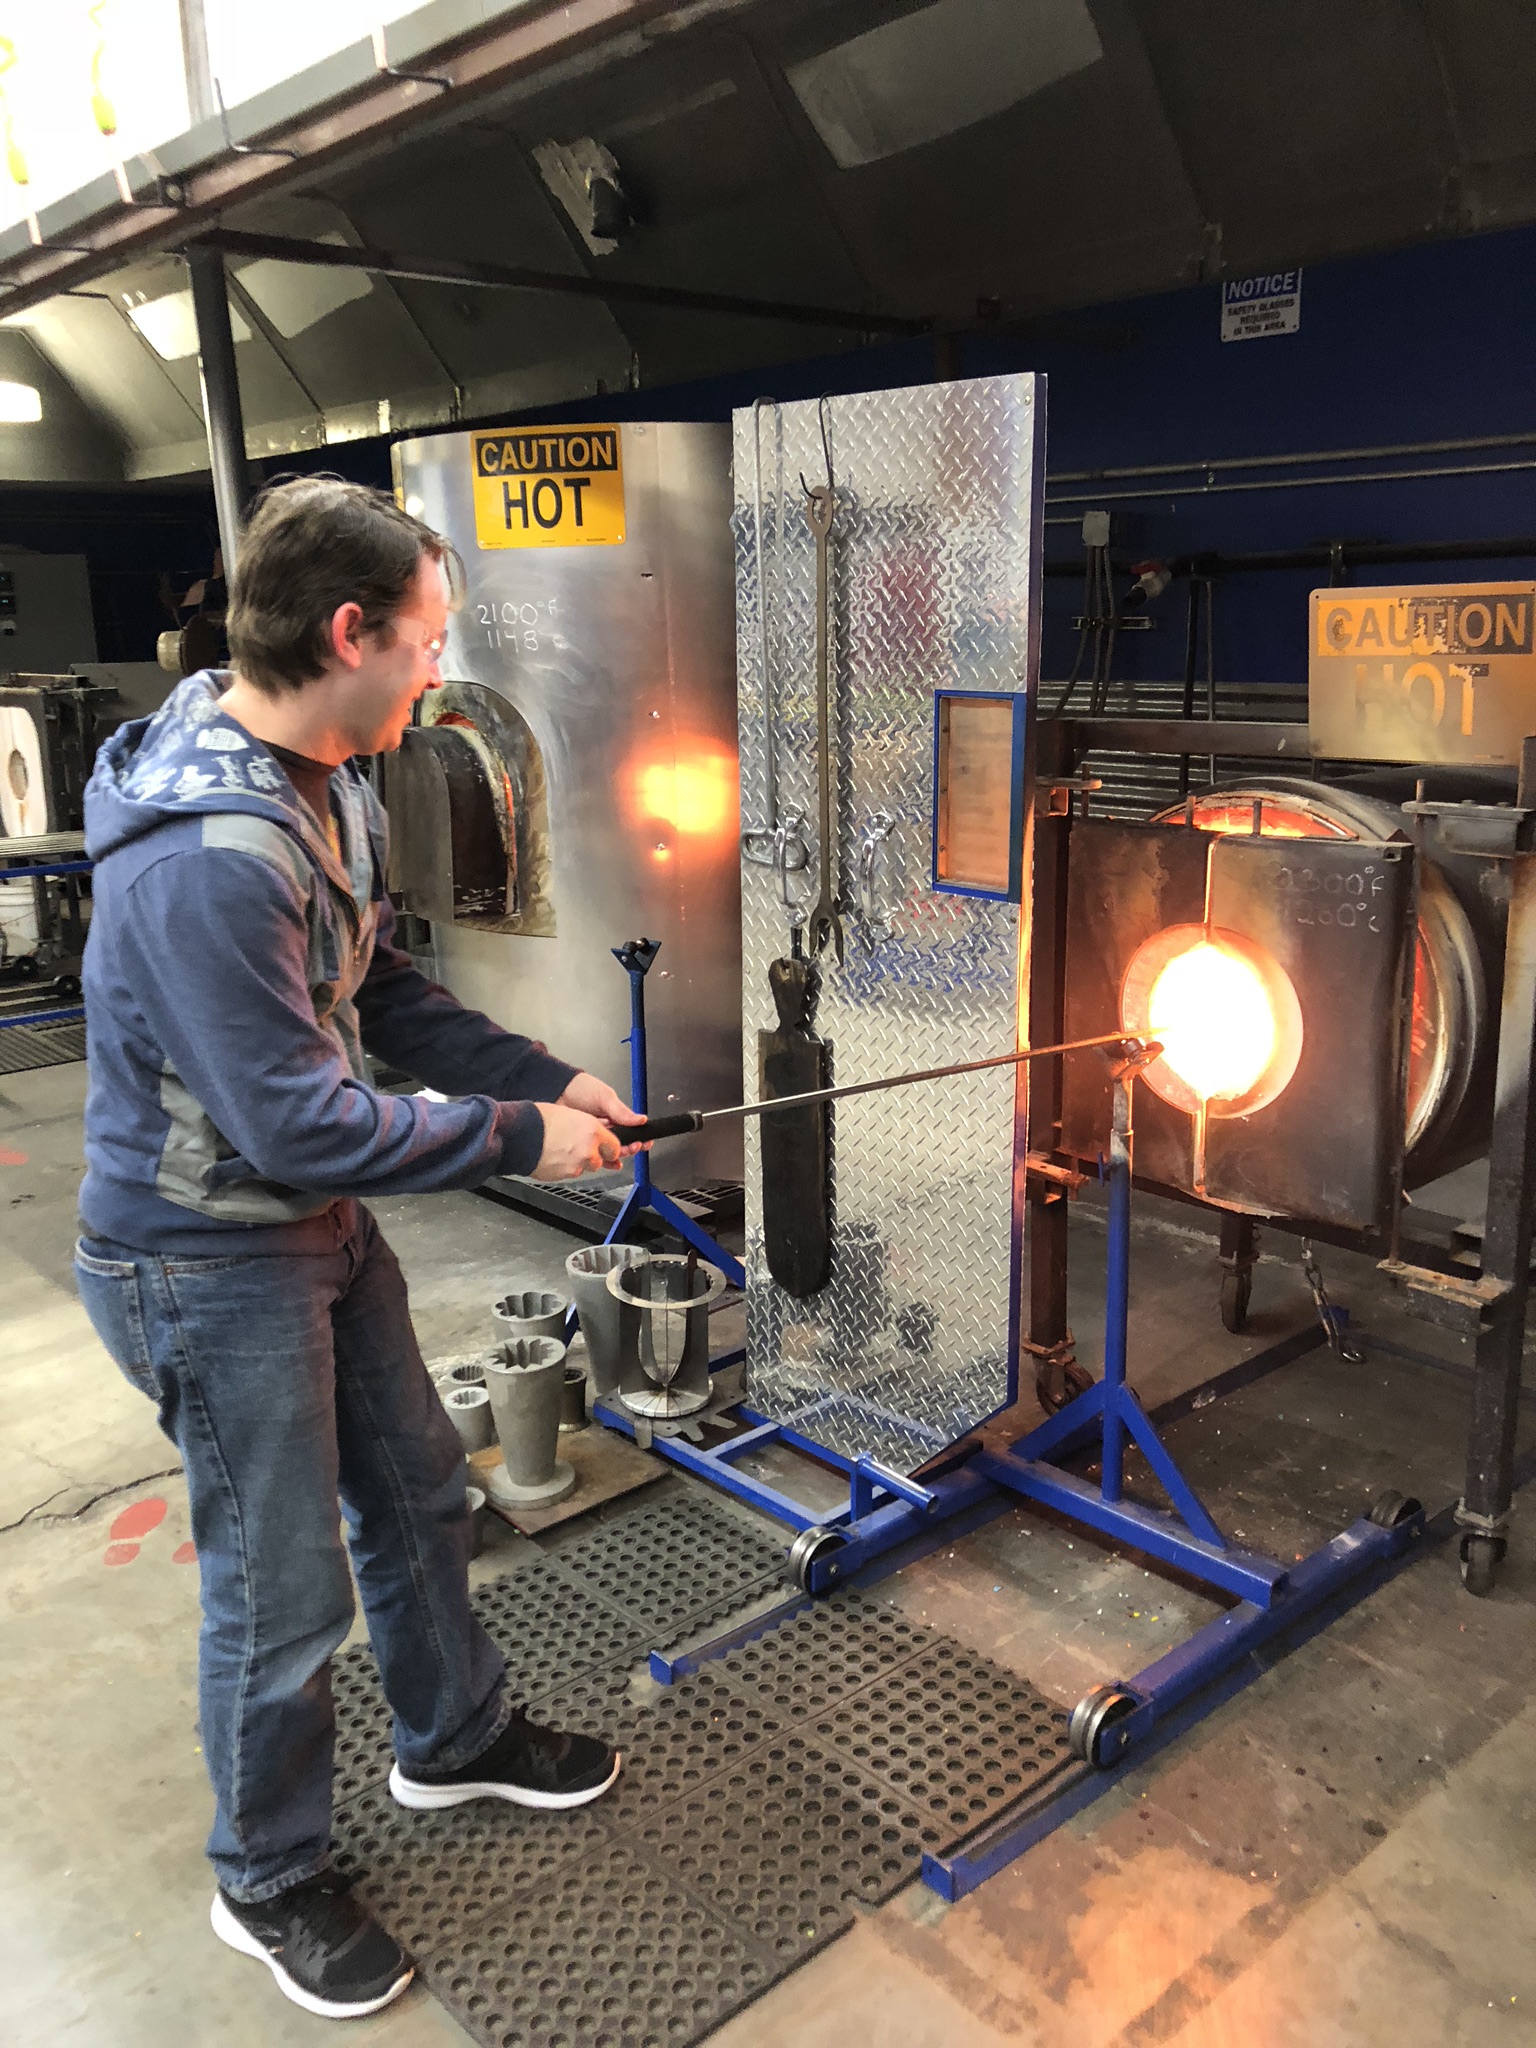
My only complaint was that because of the location, parking was a pain. it’s one way and very limited. I had to drive around a little and when I finally parked, I was a bit of a distance away, as you can see in the video. But if nothing else, I’m like an Olympic level walker. I arrived in the shop where they had lots of cool glass things to buy including flowers like the one I was about to make. They made me choose a straight stem, or curled. I chose curled so it would sit nicely on a counter or a table.
I also chose the color, which took a lot longer. They had solid colors and pre-determined mixes. I wanted colors to represent both of our twins, but they didn’t have the right mix. Instead, I chose the color orange to represent Lawson, with the flower itself representing Gwendolyn. It felt like a long time of deliberation, but the store clerk was gracious.
Safety Video
She took me back to see a safety video, which freaked me out a little, because I didn’t know what I was in for and it kind of elevated my anxiety about what I was actually going to be doing. It was really just a quick demonstration to prepare you for the experience. There was important safety info because of the level of heat involved, but it was nothing scary and not complicated. After the short video finished, I grabbed a pair of safety goggles and entered the workshop as instructed.
Making My Flower
There were already people in ahead of me. The instructor worked with us all individually. The duration was supposed to be an hour, but we were each free to go once we had made our flower. I got to watch the person ahead of me go through the whole process, which wasn’t long, and then the instructor talked me through each step and let me know what to do and why. The whole experience was friendly and professional.
They held onto my flower once I was done with it and told me approximately when it would be cooled down enough to pick up. When I did pick it up, I was given a coupon to come back again, which I might use. It was a pretty neat opportunity to make something using materials I am not at all accustomed to.
Thank you for reading this DIY post. Go here for more DIY projects, or visit the Budget Savvy Dad HUB.
Leave a Reply